Installation and Configuration of Android Studio and Related Tools on Linux/Debian
This article outlines the necessary steps to create a dynamic testing environment on Linux/Debian, detailing how to integrate tools such as Burp Suite, Frida, and Objection, and their specific purposes. It also covers procedures for managing certificates on an Android emulator and configuring a dynamic testing environment. Follow the detailed instructions to achieve a functional and analysis-ready setup.
Installing Android Studio
Android Studio serves as the primary IDE for Android application development and testing, providing an environment for app creation, emulation, and debugging, we are going to use this for easy download and installation of avds.
Step 1: Download Android Studio
- Download the Android Studio ZIP file from the official Android Studio page
Step 2: Extraction and Setup
Extract the downloaded file:
Step 3: Create Symbolic Links
To streamline the use of Android Studio and the emulator, create symbolic links:
sudo ln -s ~/android-studio/bin/studio.sh /usr/local/bin/androidStudio
sudo ln -s ~/android-studio/emulator/emulator /usr/local/bin/androidEmulator
Now you can run Android Studio with:
And the emulator with:
Step 4: Use a Physical Device (Optional)
Although this guide primarily uses an Android emulator, you can opt to use a physical device for a more realistic experience. This requires enabling developer options and USB debugging on your device.
- Enable Developer Options:
-
Go to Settings > About Phone and tap Build Number several times until developer options are enabled.
-
Enable USB Debugging:
- In Settings > Developer Options, enable USB Debugging.
Connect your device to the computer via USB. You can now use adb commands to install apps, debug, and perform the same tests as with the emulator.
Installing Burp Certificates on an Android Emulator
Burp Suite is used to intercept and analyze traffic between the Android application and backend servers. Installing its certificate allows HTTPS traffic to be decrypted for analysis.
Step 1: Start the Emulator with a Writable System
-
List available AVDs (Android Virtual Devices) with the
-list-avdsoption: -
Start the emulator with the
-writable-systemoption:
Step 2: Export the Certificate from Burp Suite
- From Burp Suite, export the certificate in DER format:
- Go to Proxy > Options > Import/export CA certificate.
- Export the file as
burp-cert.der.
Step 3: Convert and Copy the Certificate to the Emulator
-
Convert the certificate from DER to PEM format:
-
Get the certificate hash:
-
Rename the certificate using its hash:
-
Push the certificate to the emulator:
Step 4: Verification
Restart the emulator and verify the installation by checking Settings > Security > Trusted Credentials for the "PortSwigger CA" certificate.
Installing Frida and Objection in a Python Virtual Environment
Frida is a dynamic instrumentation toolkit for debugging, testing, and reverse engineering Android applications. Objection is a wrapper for Frida that simplifies security assessments by automating common testing tasks.
Step 1: Create a Virtual Environment
-
Create a Python virtual environment to isolate tool dependencies:
-
Activate the virtual environment:
Step 2: Install Frida and Objection
- Install both tools using
pip:
Configuring Frida-Server on the Emulator
The Frida server facilitates communication between the Frida client on your host machine and the Android emulator for live application instrumentation.
Step 1: Download the Frida-Server File
-
Download the
frida-serverbinary from the official Frida releases page. -
Extract the downloaded file.
Step 2: Upload and Configure Frida-Server on the Emulator
-
Push the
frida-serverbinary to the emulator: -
Start the Frida server:
Step 3: Verification
Ensure Frida is working by listing processes on the emulator:
Method Inspection: Revisiting Crackme 1
To demonstrate the power of dynamic analysis, we will use the "Uncrackable1" APK to explore how these techniques can be applied in practice.
Exploring the Application with APKLab
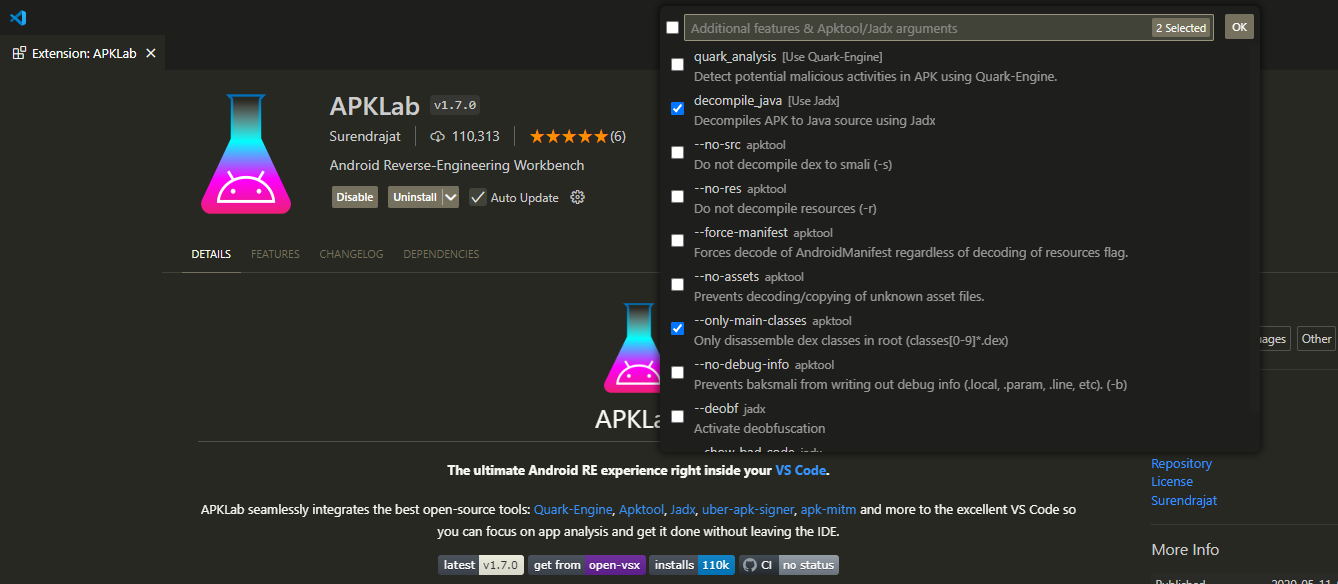
To understand the application better, decompile the APK to reveal its Java source code using the APKLab extension for Visual Studio Code. This extension integrates with tools like JADX to simplify the process.
Step 1: Set up APKLab
- Install APKLab from the Visual Studio Code extensions marketplace.
- Open the APK file in APKLab to automatically decompile the application and display the code.
Step 2: Locate Root Detection Code
-
Use the search functionality in APKLab to locate code responsible for root detection by searching for phrases like "Root detected."
-
Navigate to the implementation by clicking on the search results.
Bypassing Root Detection
We can bypass root detection by modifying what methods like c.a(), c.b(), and c.c() return. Alternatively, we can change the implementation of the onClick() method in MainActivity, which closes the app when "OK" is clicked on the alert.
Using Frida to Instrument the App
Step 1: Find the Process ID
List all running processes to locate the app:
Step 2: Attach to the Process and Enumerate Methods
Create a script to list methods in the app:
// listmethods.js
Java.perform(() => {
  const groups = Java.enumerateMethods("*MainActivity*!onCl*");
  console.log(JSON.stringify(groups, null, 2));
});
Attach to the process and execute the script:
Step 3: Override the Method Implementation
Use Frida to modify the onClick() method:
// override.js
Java.perform(() => {
  const main = Java.use('sg.vantagepoint.uncrackable1.MainActivity$1');
  main.onClick.implementation = function () {
    console.log('Pwned!');
  };
});
Run the script and verify that pressing "OK" no longer closes the app.
Extracting the Secret Passphrase
Inspect the code further to find the function responsible for decrypting the secret passphrase. Log the decryption output using Frida:
// logDecryptor.js
Java.perform(() => {
  const AESDecryptor = Java.use("sg.vantagepoint.a.a");
  AESDecryptor["a"].implementation = function (bArr, bArr2) {
    console.log(`AESDecryptor.decrypt is called: bArr=${bArr}, bArr2=${bArr2}`);
    const result = this["a"](bArr, bArr2);
    console.log(`AESDecryptor.decrypt result=${result}`);
    return result;
  };
});
Convert the output byte array to a string using Python to reveal the secret phrase.
With this setup, Android Studio enables app emulation and debugging, Burp Suite facilitates traffic interception and analysis, Frida allows dynamic application instrumentation, and Objection automates common security testing tasks. The added dynamic analysis section demonstrates the practical application of these tools in extracting secrets and bypassing protections, making this guide a comprehensive resource for mobile app security testing.
Stay safe. Stay smart. Stay secure.